

Assign Agents

Views
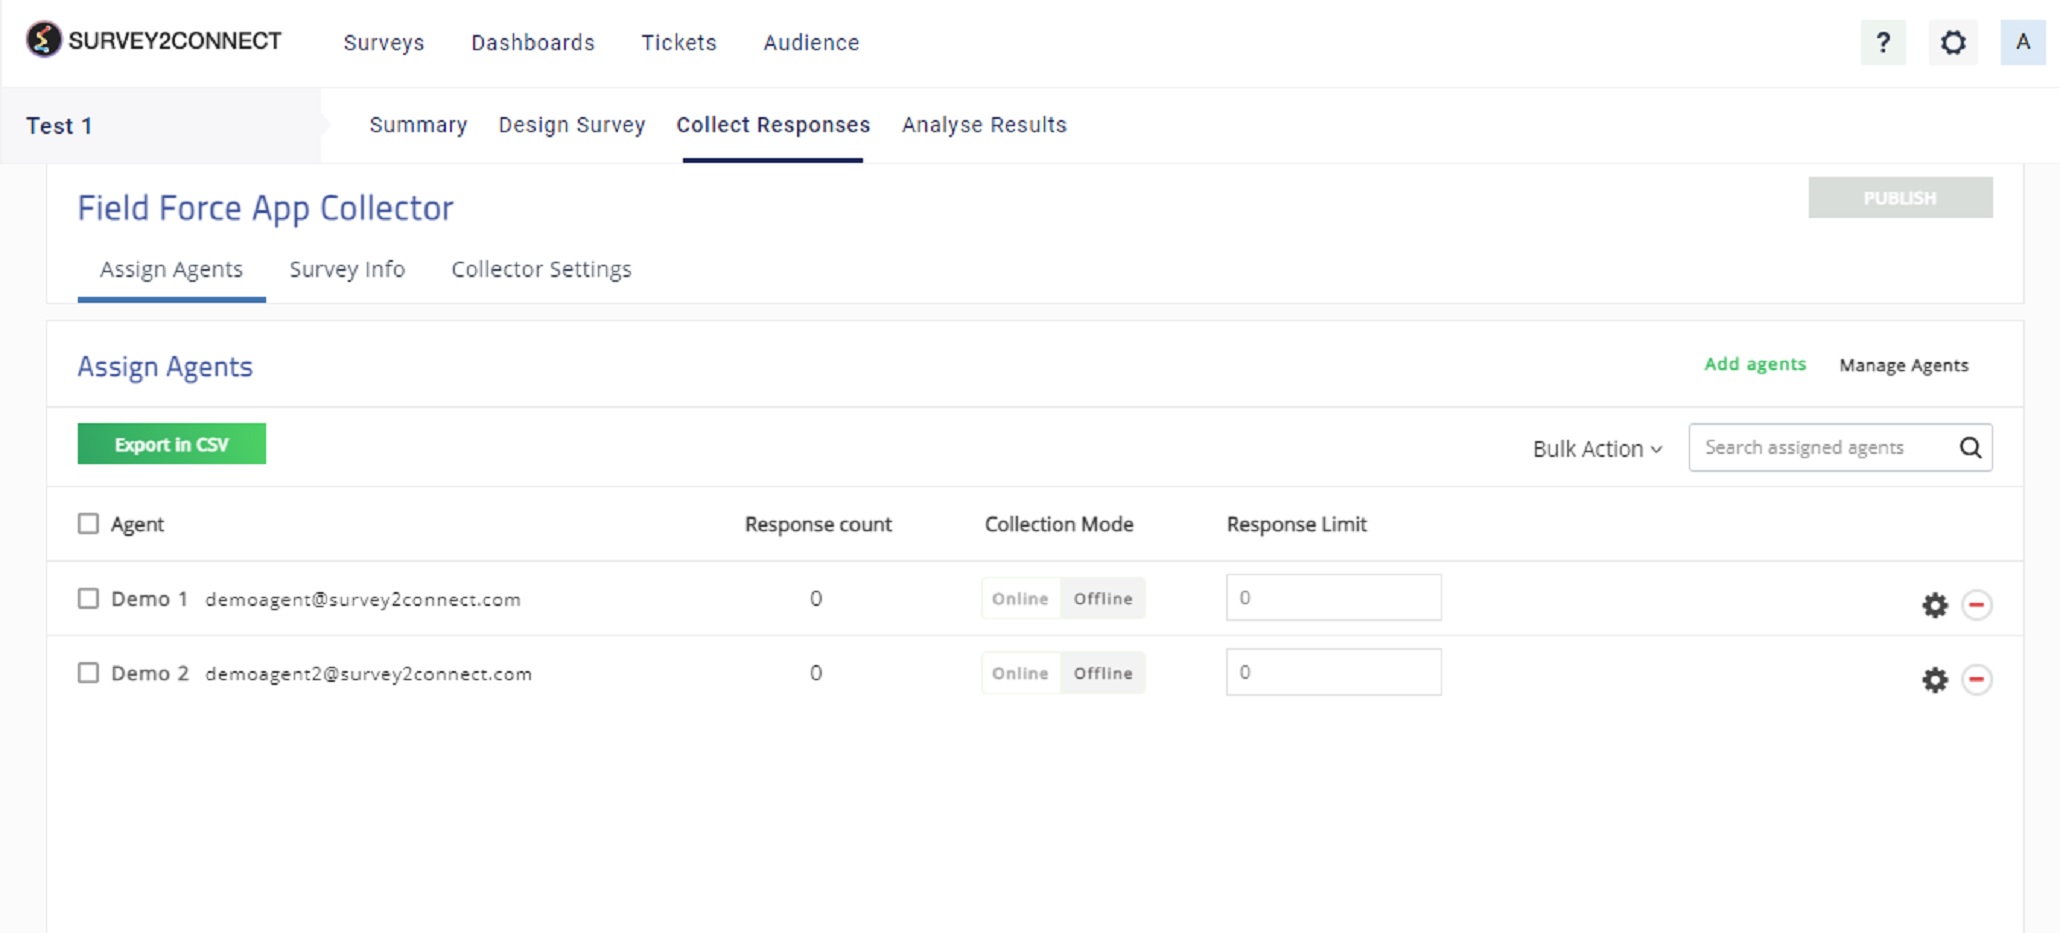
Assign Agents section under the Field Force App Collector allows you to assign agents to the survey. Your agents are the ones who use the Field Force application to collect feedback. You can customize your agent list, agent settings and assign agents from this page. However, for you to be able to add agents for a survey, you need to have already created agents with the admin account. In case, you haven’t, you can follow these steps to create an agent.
You can manage their Collection Mode, Set a limit and limit his geographical reach with Geofencing to ensure authentic survey data collection.
The steps to assigning an agent are as follows.
1. Click on the Assign Now button or Add Agent button on the top right. In case you have no agent created, you can click on the Manage Agents button and follow these steps to create a new agent.
2. Select the agents from the list. You can add more than one agent at once. You can also search for your agent by using the search button at the top of the popup.
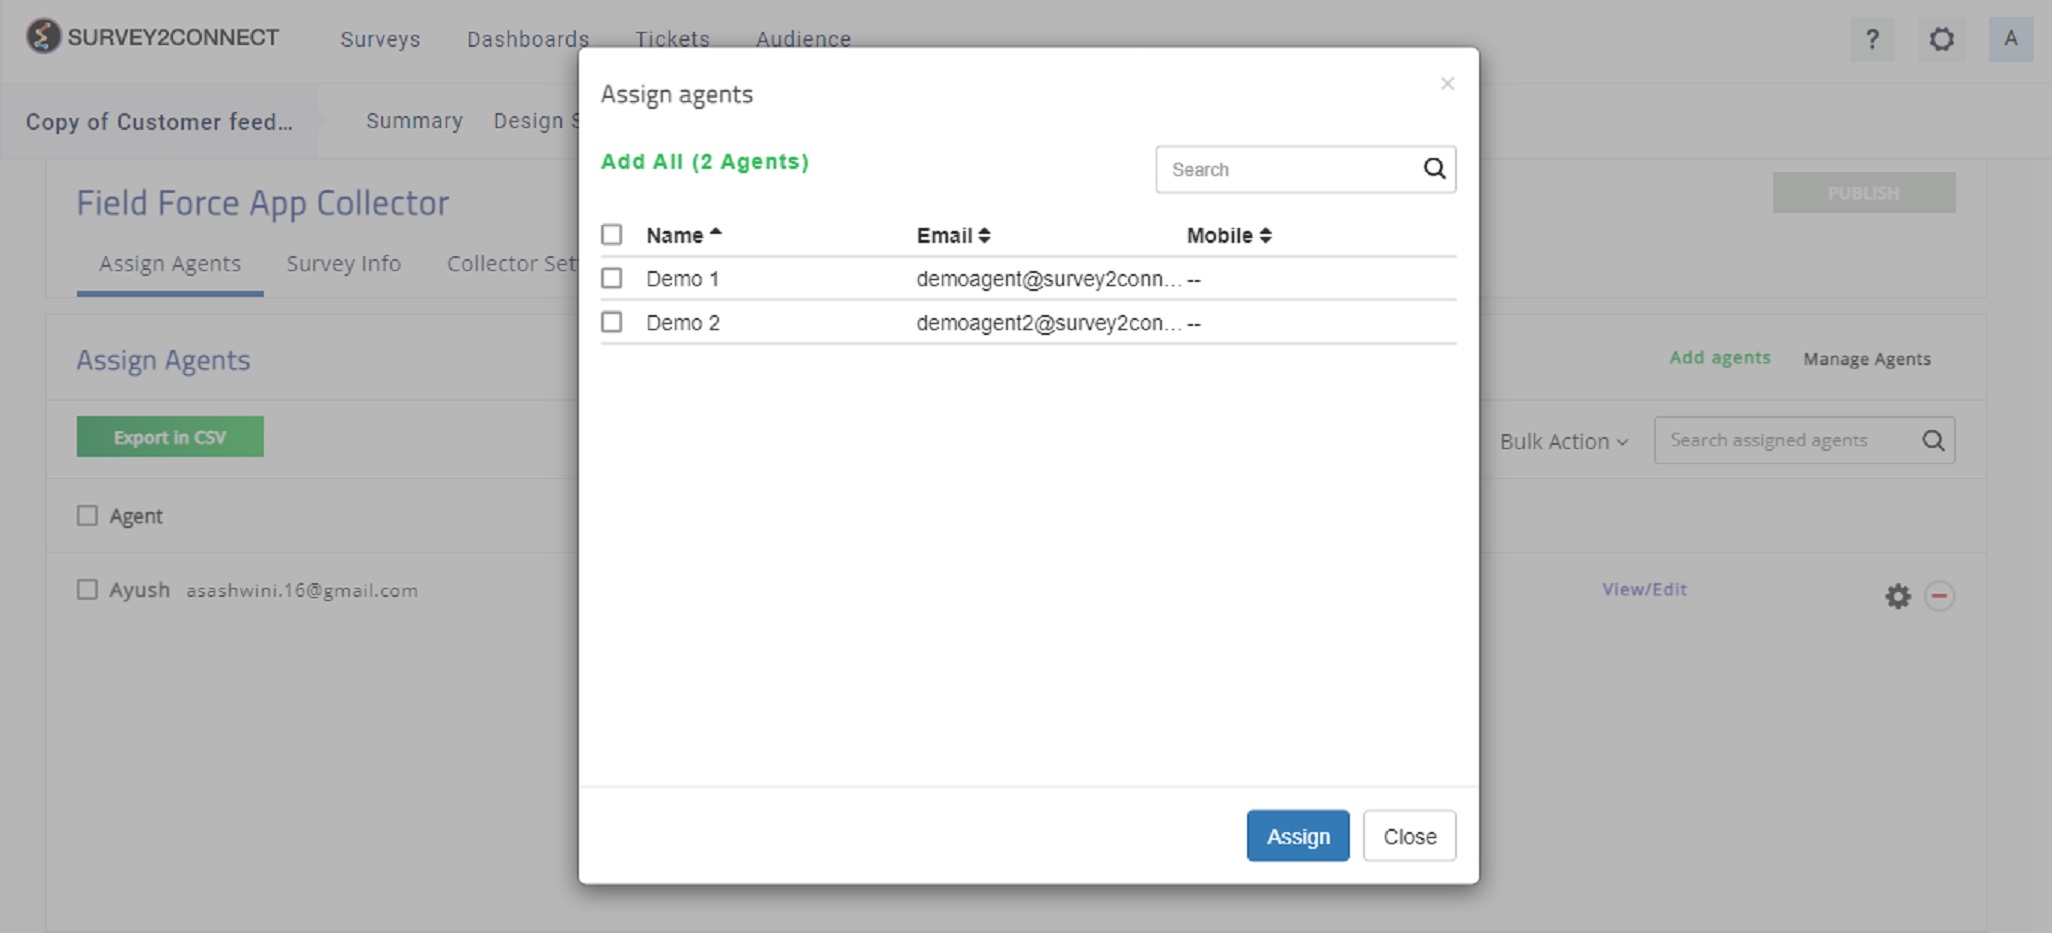
3. Click on Assign
Other Features

There are some more minor features available to fine-tune your agent setting.
Response Count: This option shows you the number of responses collected by the particular agent
Collection Mode: You can either assign your survey as an online survey or an offline survey depending upon your requirement. You can toggle between the two from this button.
- Offline Mode: In offline mode, your agent would have to manually submit the response to the system once the survey response is collected.
- Online Mode: In online mode, the survey response is automatically saved to the main database.
Response Limit: You have the option to set up a limit for responses an agent can collect. The responses collected after the limit is reached will not be reflected in the survey response data but will be saved in the device. You can set the limit from here.
Export in CSV: This option lets you download the entire Agent data in CSV format. The file can be edited to add agent data such as add geofencing data in bulk, add custom variables.
With a CSV file, you get the ability to add agent data in bulk. Once downloaded, you would see all the agents and their geofencing data and custom variable data. If you want to make changes to them, you can edit the CSV file, save it and upload it back and publish the page to make changes live.
Manage Agents: This option takes you to the Agent Page of the account and you can make changes to Agent Profile if needed.
Agent Settings: This option on the right side of each agent allows you to set a geofencing limit. Geofencing allows you to set a region in which the agent can operate. When enabled, you have to enter the longitude and latitude and the radius of the circle. The agent can only collect data within the circle. The agent would not be able to collect responses outside his assigned zone.
Removing Agent: Next to the Agent Settings button is the remove button. Click on this would prompt a popup, asking for your permission before removing the agent from the list.
Publish: This option on the top right corner of the page allows you to publish the agent setting with the app. Any change you make to the agent or any changes that you make on the page needs to be published in order to be reflected on the application.